
Crosslisting
Bulk Create Listings from Photos
Drop a folder of photos, let SECND group them into products and draft each listing, and use templates and instructions to control what the AI writes.
Last updated 2026-11-17
In short
Before you start: tell the AI how you write
Bulk Create has no prompt box on the upload screen because it uses the templates you have already saved. Set them once and every batch follows them.
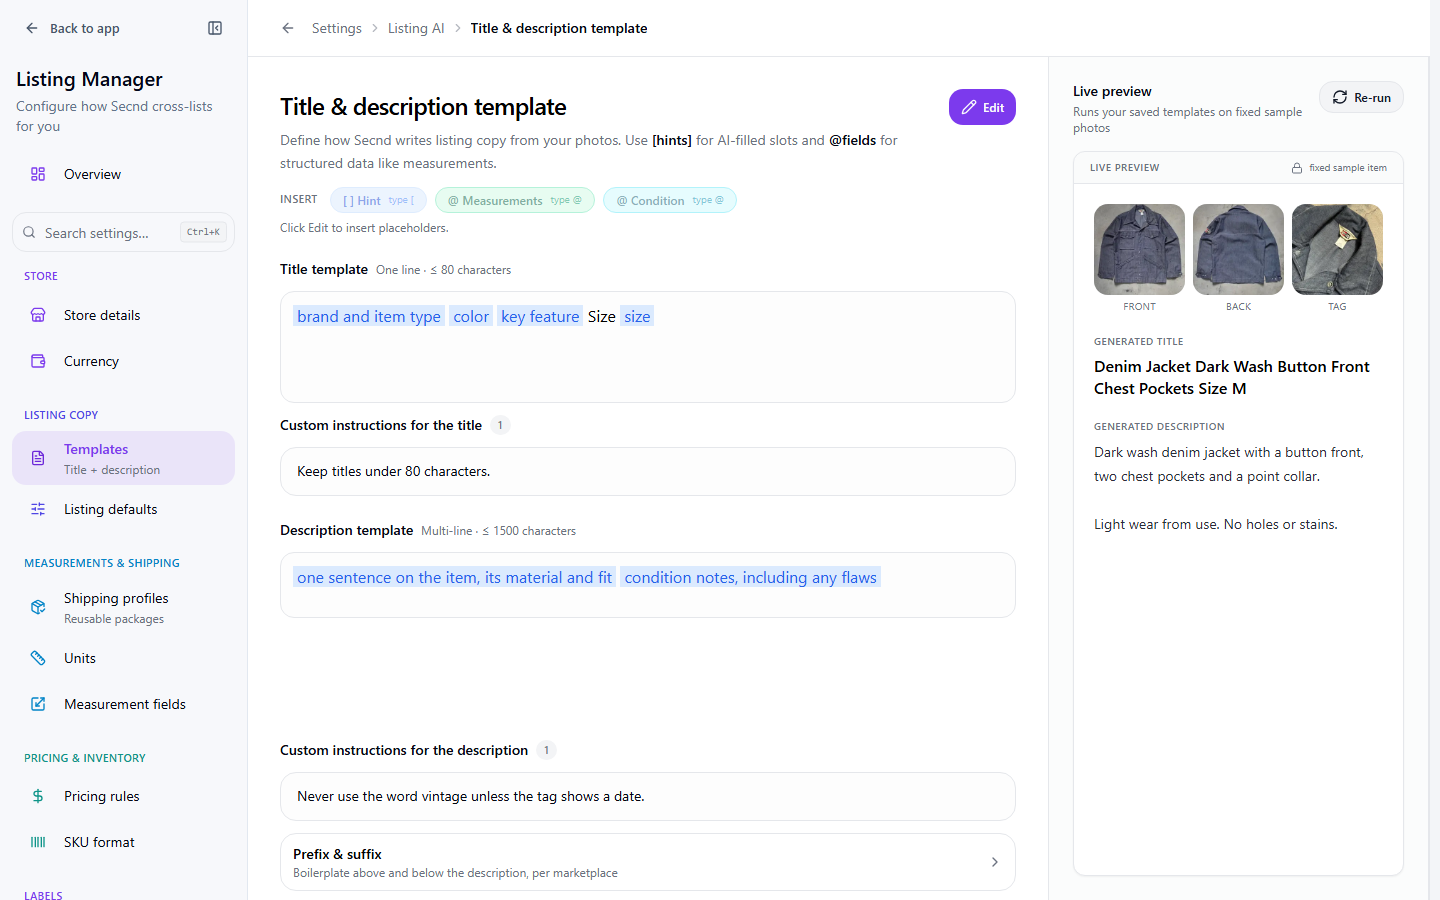
Open Templates (see Title and Description Templates) and set three things:
- Title template and Description template. Fixed words appear as written. Put guidance for the AI in square brackets, such as [brand and item type]. Add the Measurements or Condition field to a description to insert product data.
- Custom instructions. Under each template, add plain-language rules for the title or the description, for example "Never use the word vintage unless the tag shows a date." Choose Add another instruction to add more.
- Prefix & suffix. Fixed text above or below the description for each marketplace, such as your shipping or returns note.
Check the live preview
Note
Create a batch
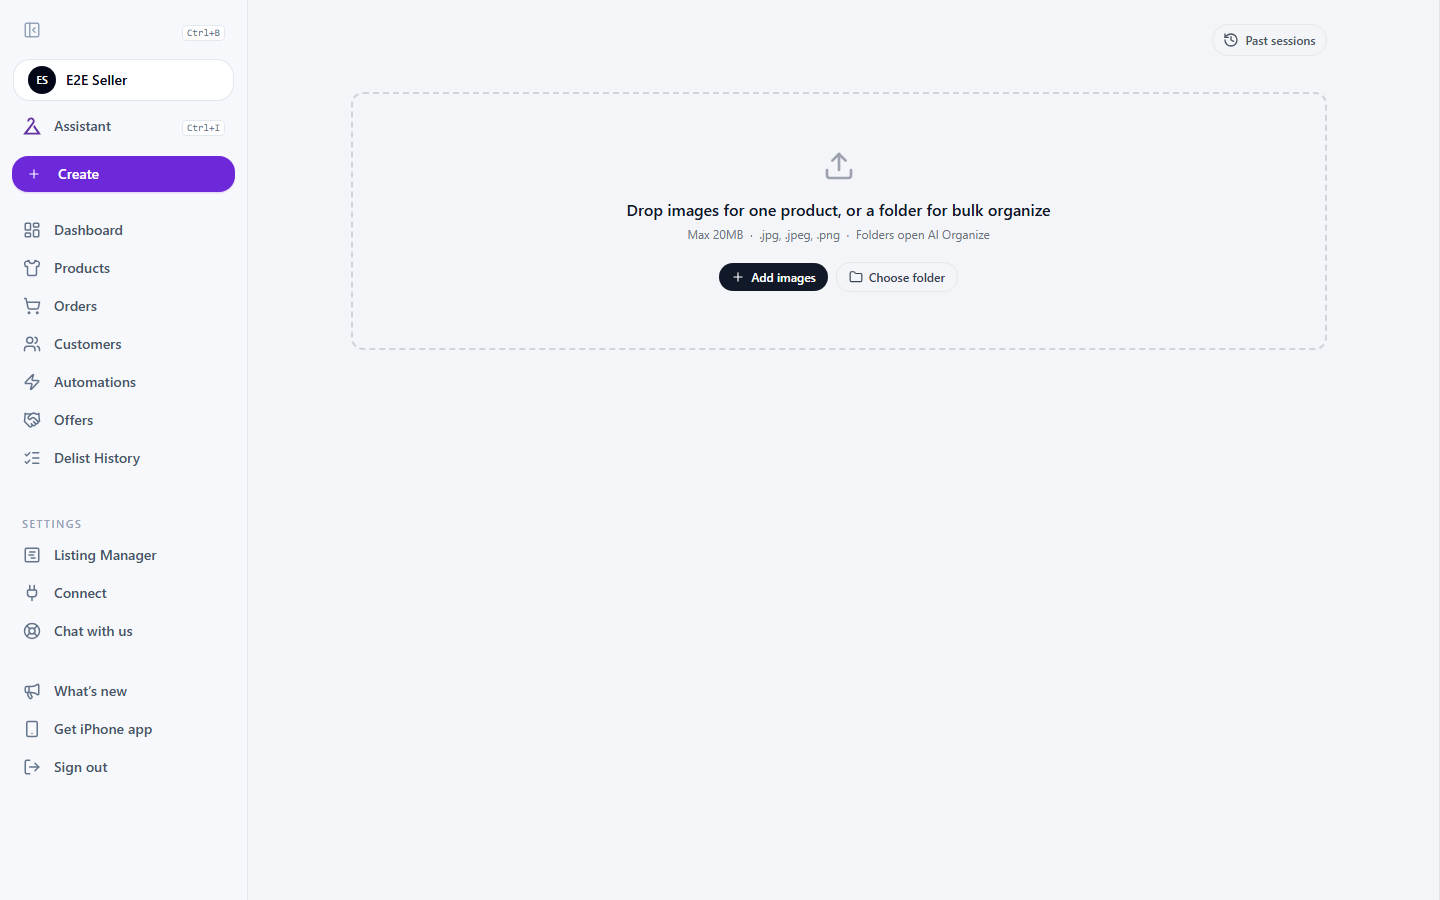
Open Bulk Create
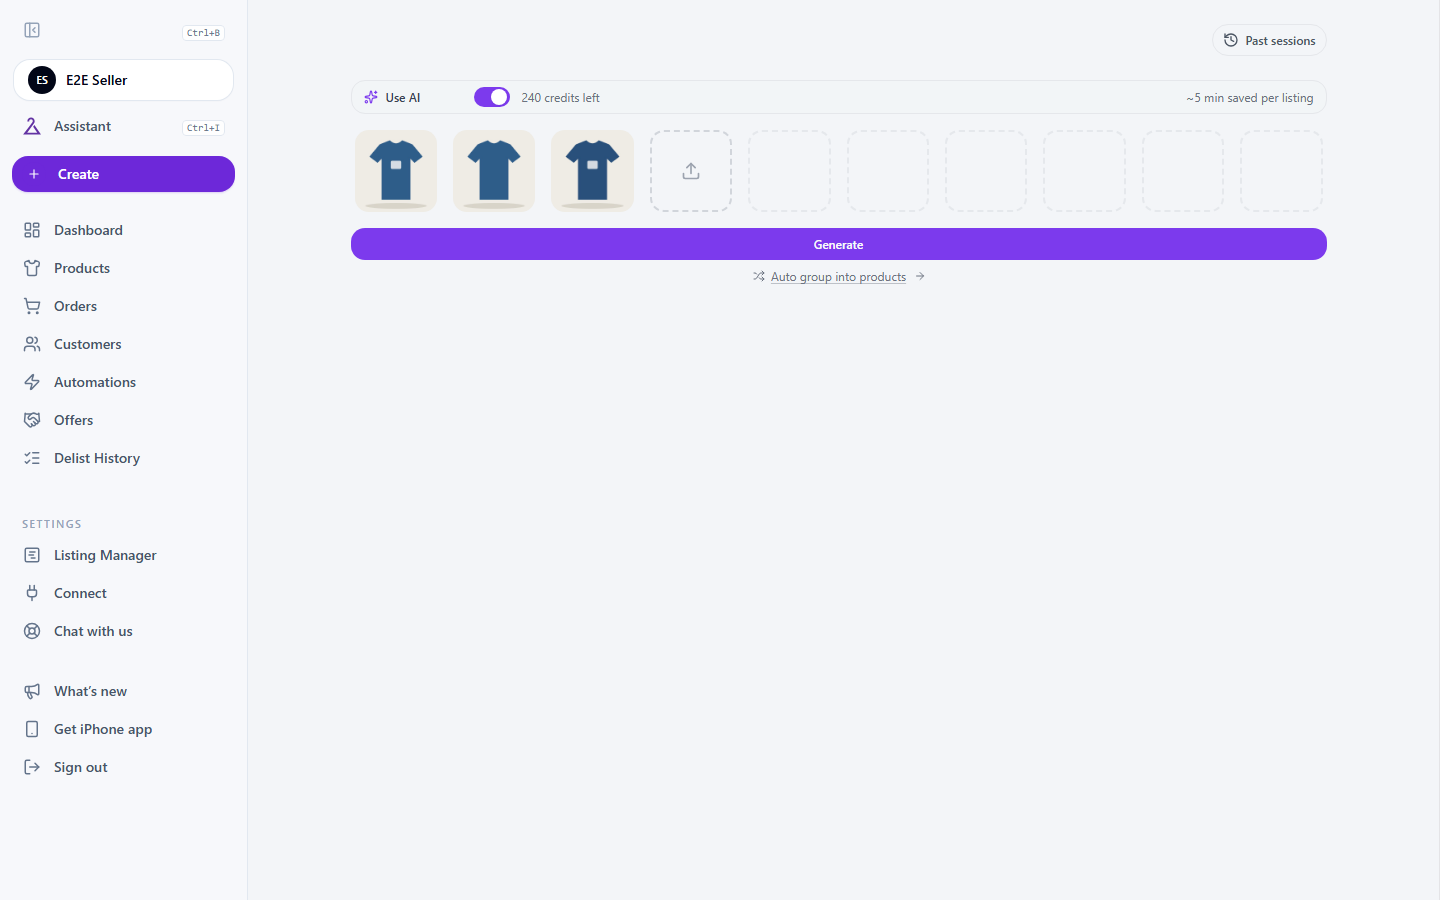
Add your photos
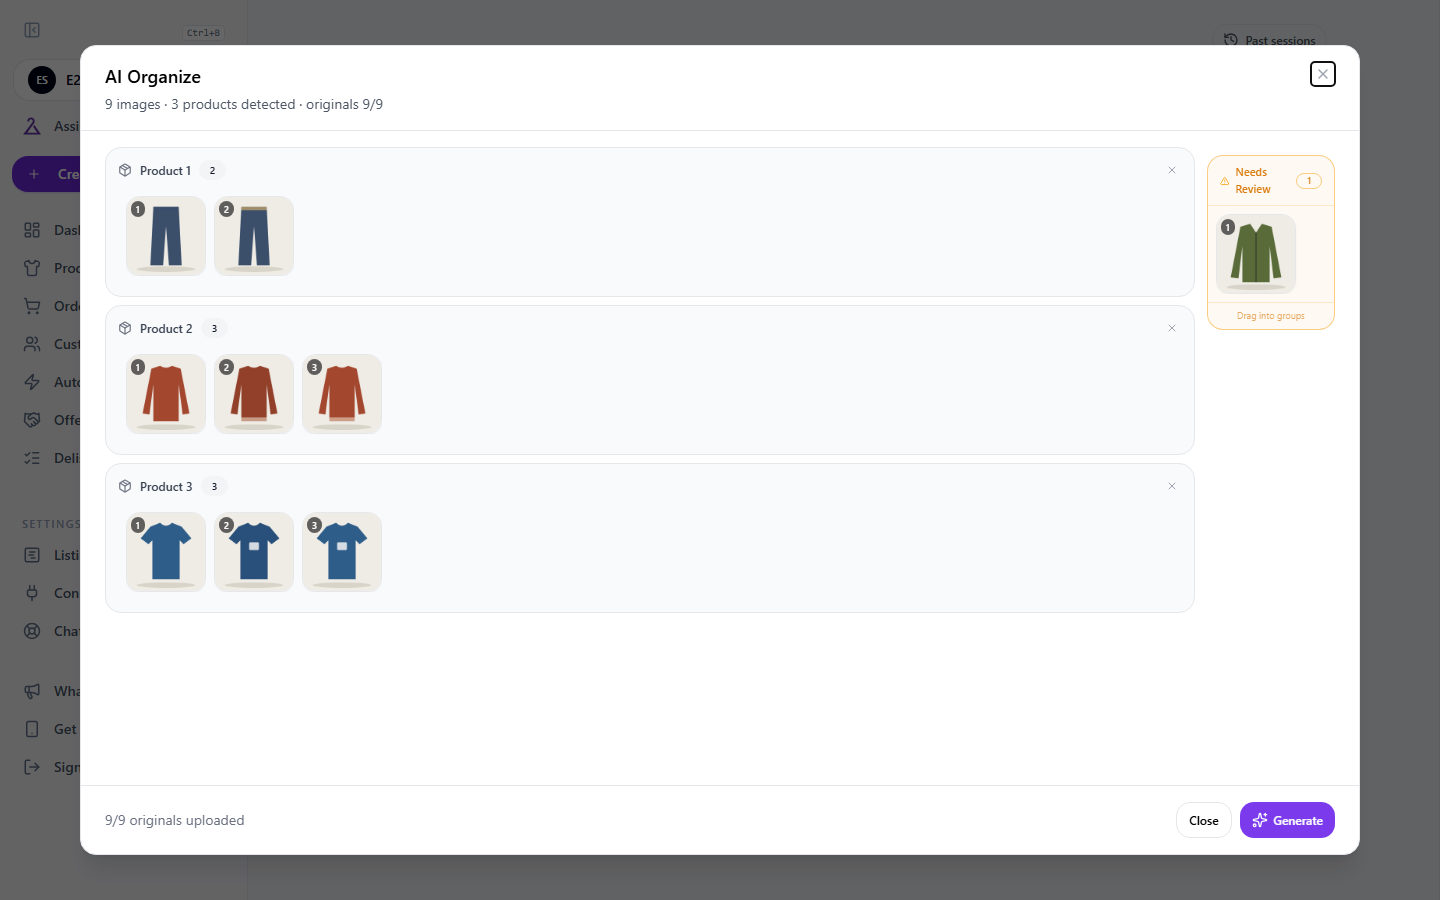
Let SECND group the photos
Check the groups
Generate
Review and edit
Publish or save
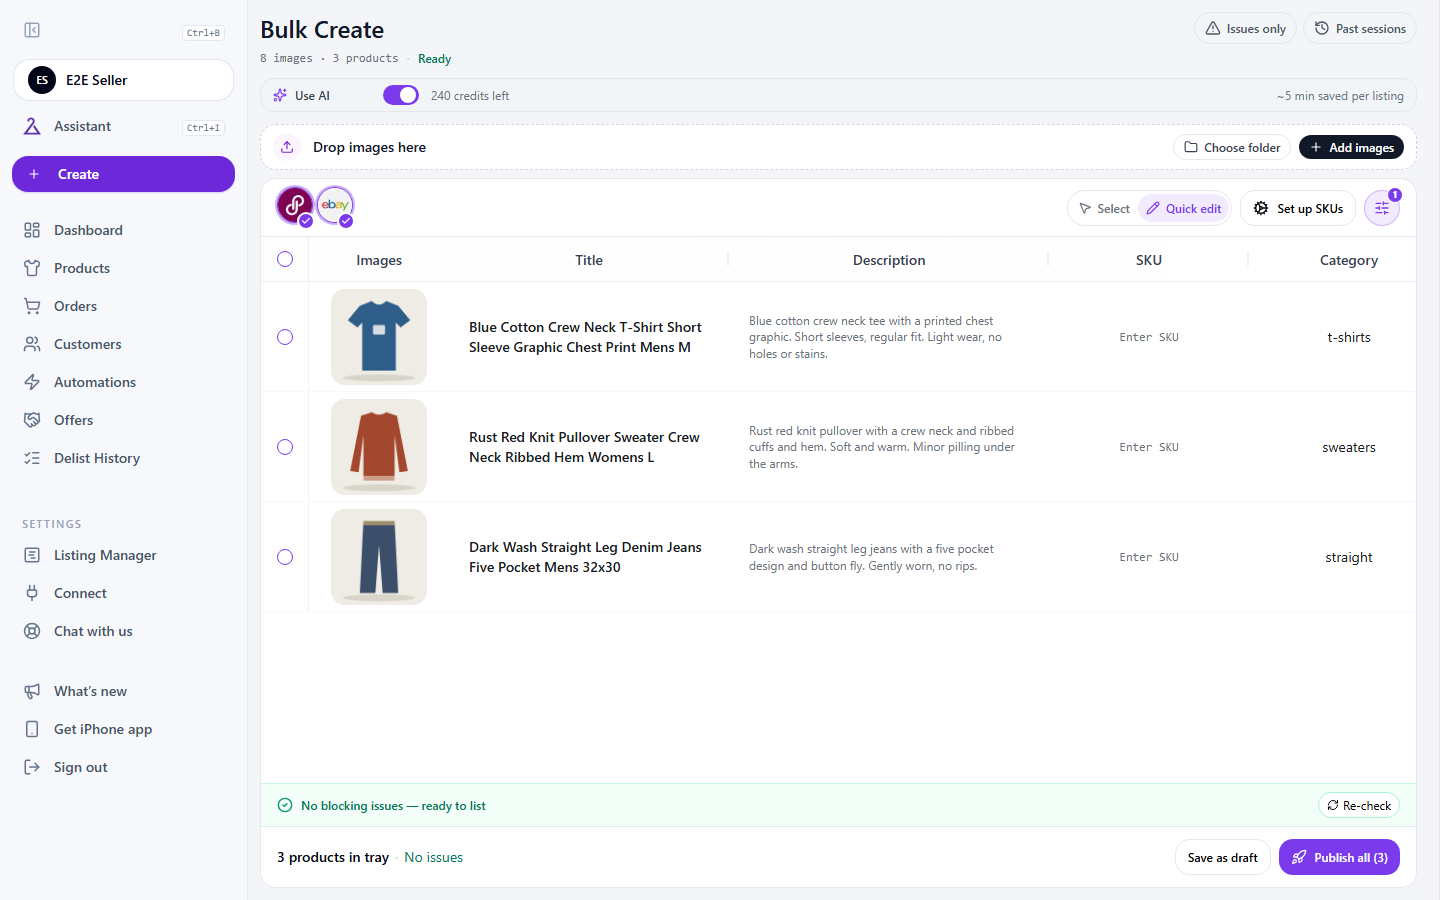
For a single item, add up to 10 photos and select Generate without grouping.
What the AI fills in
From the photos, SECND drafts the title, description, tags, category, brand, condition, colors, size, and measurements.
Heads up
AI output is a draft. Check the category, condition, size, and price on each row before you publish.
Change what the AI wrote
You do not have to retype a cell that came out wrong, and you do not have to accept the same wording twice. These tools are in the Bulk Create table on the web.
Re-generate one cell or a whole column
Add your own instructions
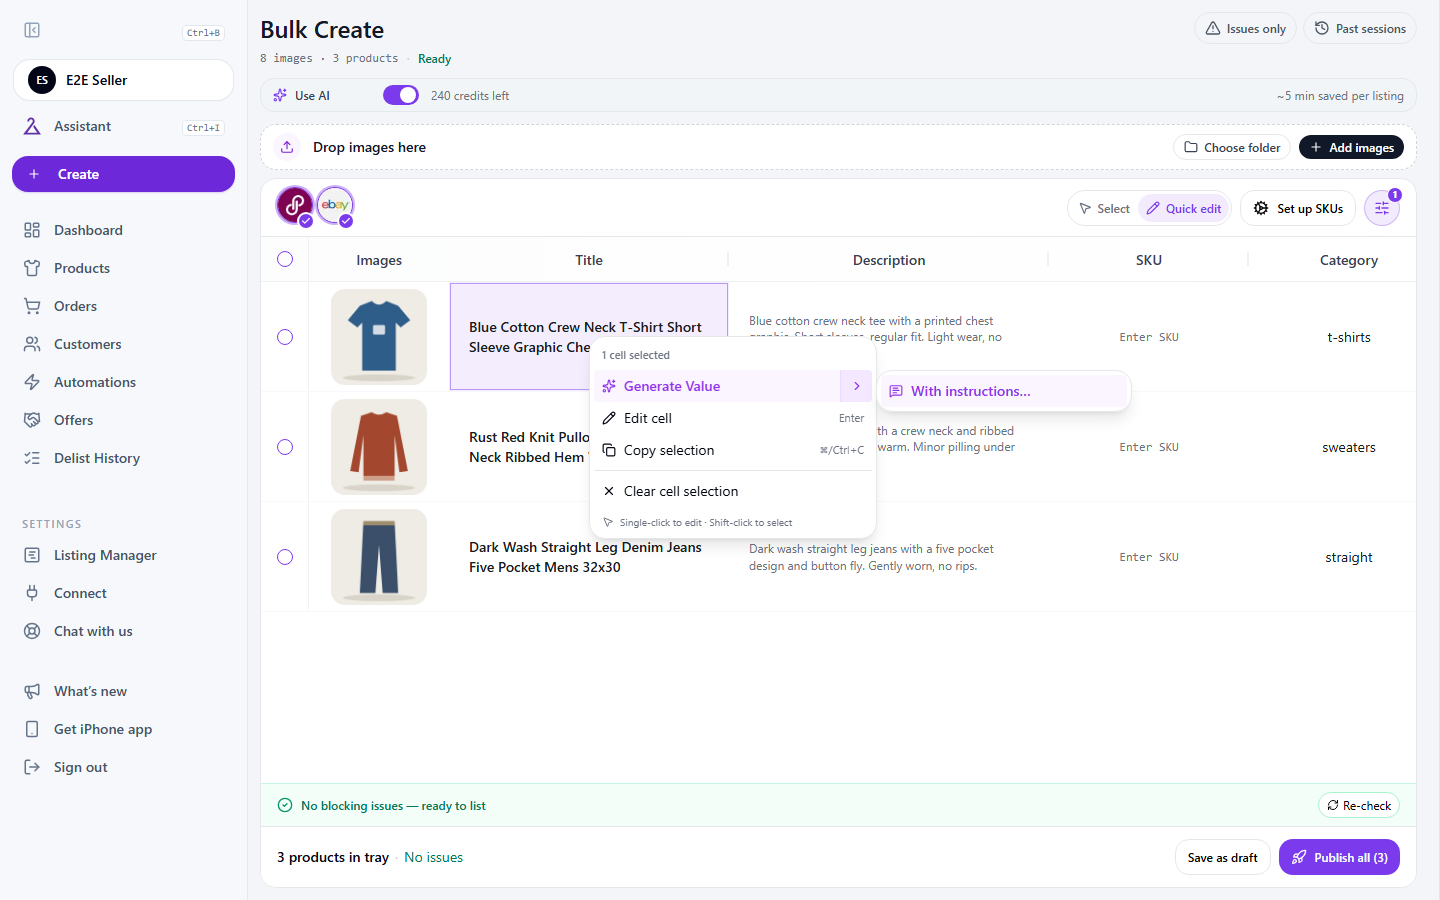
Write a one-time instruction
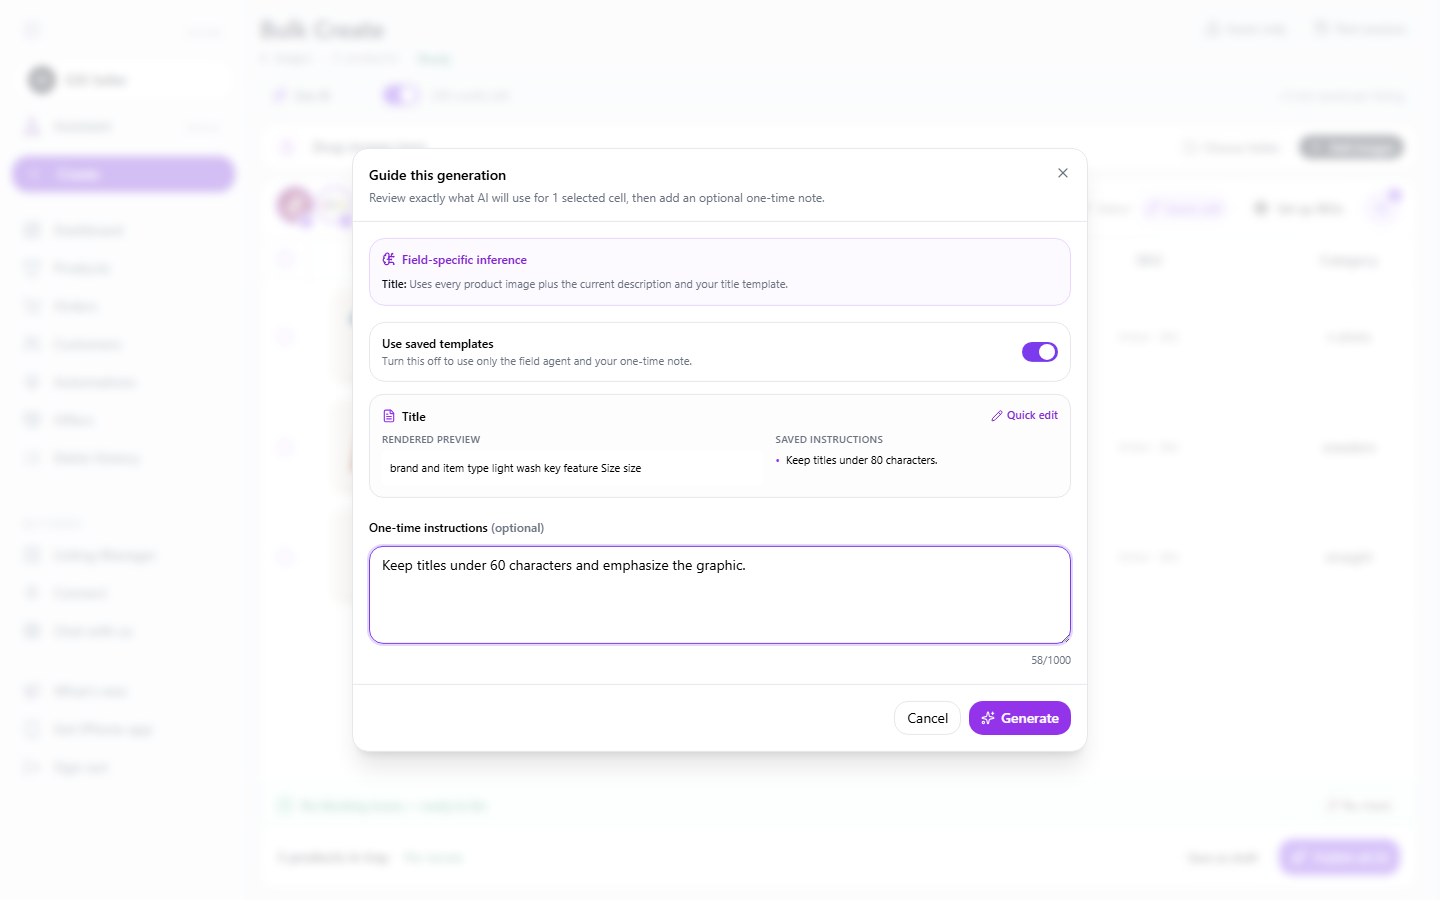
Adjust or skip your templates
From the title or description column menu, Edit & preview templates takes you straight to the Templates page.
Getting through a batch faster
Generation runs in the background, one job per product, with several running at once. You do not need to wait on a progress bar.
- Keep working while rows fill in. Edit finished rows while the rest generate.
- Leave and come back. On the web, your session is saved. Open Bulk Create again and choose Resume your previous session, or open Past sessions.
- Fix a column, not a cell. If every title needs the same change, use Generate Column with an instruction once.
- Move the rule into your template. If you give the same one-time instruction twice, add it as a custom instruction so the next batch is right the first time.
- Let defaults fill the rest. Listing Defaults fill condition and other fields you would otherwise set by hand, and Bulk Editing Listings covers the table tools in more detail.
AI credits
Each plan includes a monthly number of AI listings. See Choose a Plan. When you have none left, Bulk Create still groups and saves your photos as plain drafts for you to fill in, and Get more credits appears in place of the AI switch. Switch to Manual entry yourself at any time to add photos without using credits.
Common issues
Heads up
Heads up
Note
Note
Related guides
Title and Description Templates
Build reusable listing copy with instructions and product fields.
Bulk Editing Listings
Edit titles, prices, descriptions, and other fields across many listings in one pass.
Listing Defaults
Pre-fill condition, age, and source on every new listing.
Choose a Plan
Every SECND plan includes the core tools. Pick the level of AI listing capacity and support that fits your business today.
Have a question that isn't answered here? .